Bathroom Remodel: A Transformation without Removing the Vanity
In this post: Looking to makeover your bathroom on a budget? This bathroom remodel shows a completely transformed main bath without removing the vanity. ⇒

Have you ever had one of those home projects that was really nagging at you to get done, but you were having trouble justifying the cost?
Such was the case with one of our guest baths, an en suite bath to a room we call my daughter’s bedroom, but one that hardly gets any use as she hasn’t lived here for years.
It was a builder grade bathroom, barely 10 years old, with absolutely no charm or character, but nothing terribly offensive either. It’s not like it had pink tile from another century, but truth be told, I hated it nonetheless.
Still, the fact that it was both functional and neutral made me put off a renovation for quite some time.

In fact, I’d taken on the project a few years ago of trying to upgrade the look until I was ready for a remodel. But that was always meant to be just a bandaid solution.
With most of our big projects out of the way, I recently started to look at the space again and felt it was time to finally tackle the update. However, convincing hubby was another matter.
Why would we spend the money on a room that no one ever sees?
I did my best to explain that the whole point of having guest rooms was to welcome visitors into an inviting space. Then I underscored the resale value aspect. But ultimately, the argument that worked was the one that promised to keep costs low by limiting the big changes.
In this case, that meant working with the existing vanity and keeping the very bland and commonplace shower/tub combo.
I’m a home owner. I’m used to making compromises. I could live with that.

Mirrors and Sconces
Once I knew we’d be keeping the vanity and the tub footprint in place, I decided to start slow and get some of the less expensive items out of the way first. I did a design board to work out where we were headed, and used that as my roadmap. The tile would be the biggest and most costly change, so I’d save that for later. With the design style defined, I turned my attention to the mirrors and sconces.
I wanted this room to be a bit more modern that our master bath, a space I’m already wanting to update some details. This new bath would be whites and neutrals, like most of our home, with brass accents for a touch of warmth. I selected a 3-light brass sconce with long industrial bulbs and a simple sleek mirror with very clean lines.
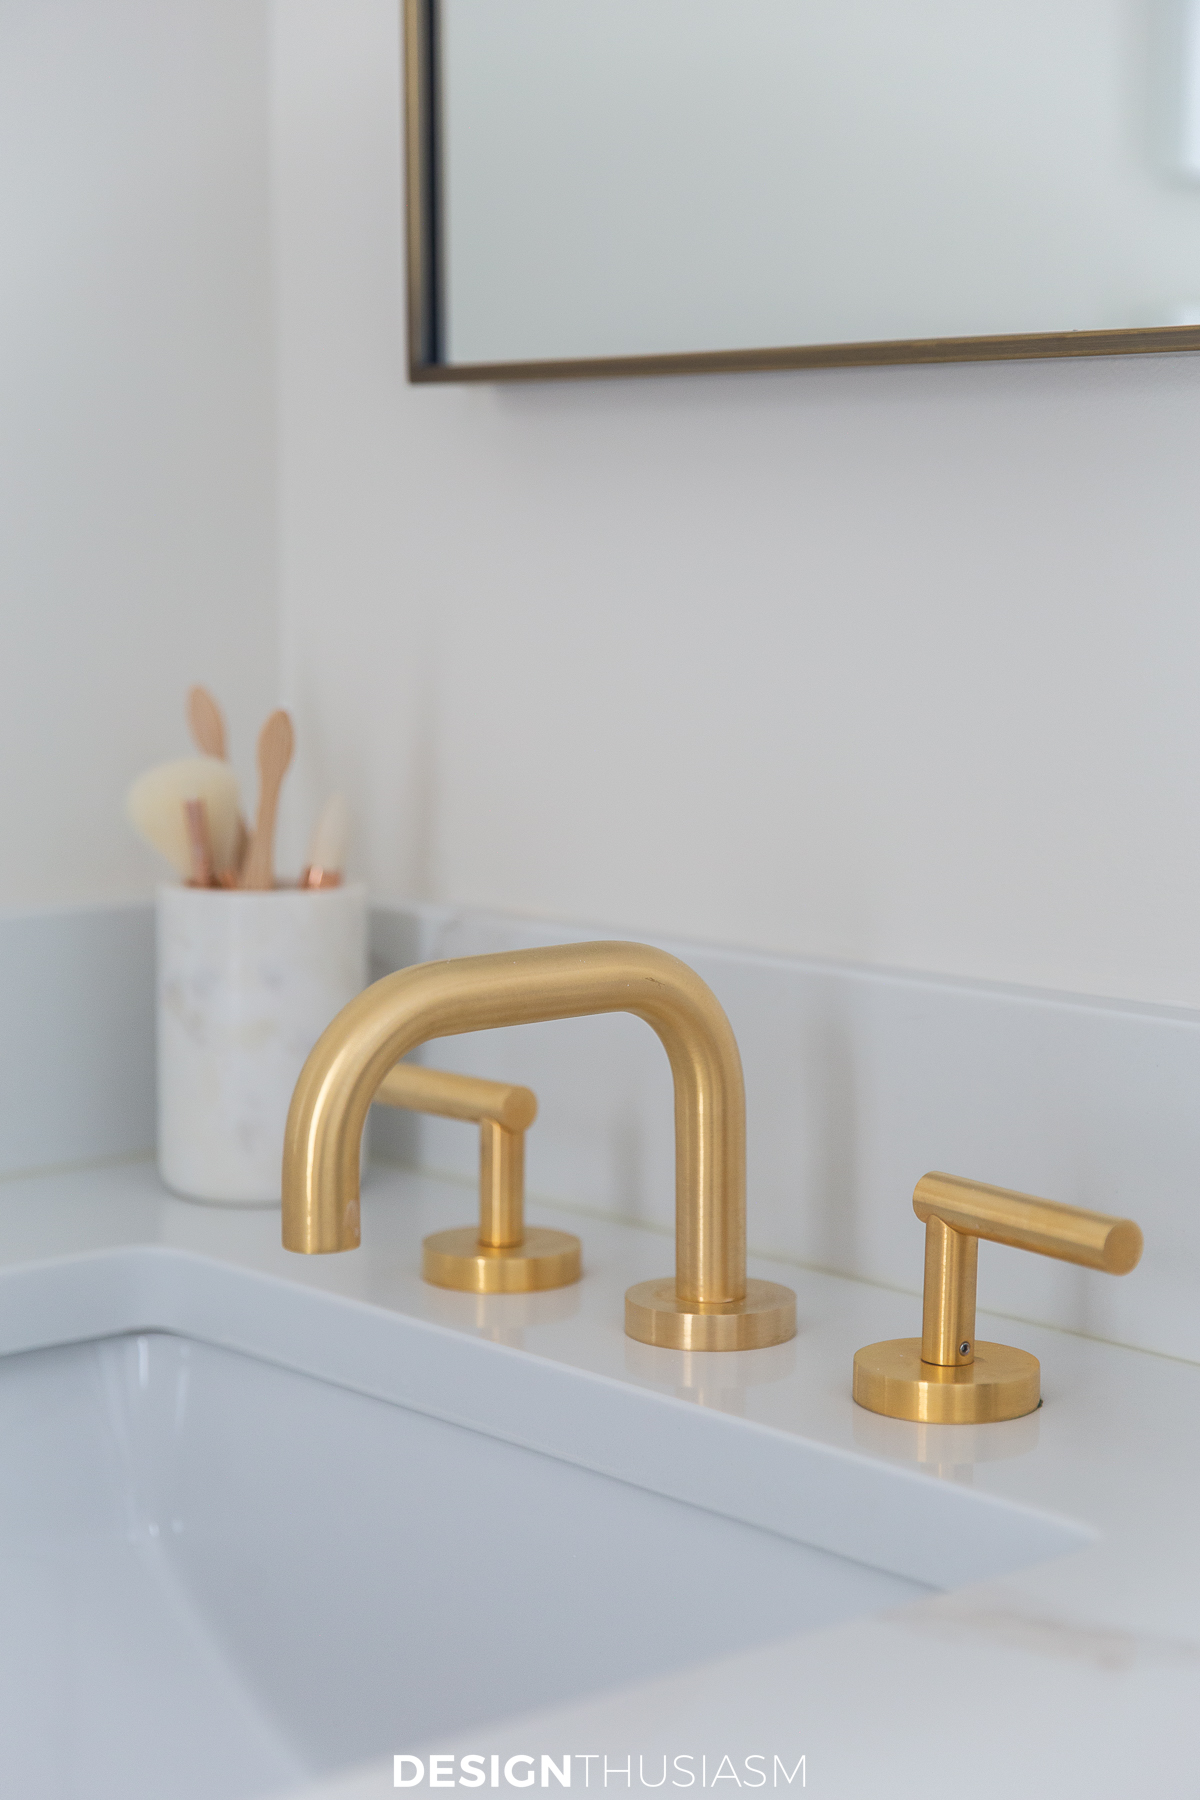
Counter, Sinks and Faucets
Next it was time to look at the vanity countertop. While I agreed to keep the vanity in place, I was less sanguine about the existing granite counter, a speckled mess that veered a bit pink. Replacing that counter was among my 3 most important objectives (along with floor and shower tile).
I opted for a white quartz counter with a marble feel and the simplest of white sinks. I had to reconcile the fact that I’d be keeping the off white tub and commode, but figured with multiple shades of white I could get away with the white sinks.
I also reasoned that the warmth of the new brass faucets I had selected would soften the gap between the varying whites. This worked successfully in our master bath so I went for it in here as well. I picked a lower silhouette gooseneck for the faucet shape with very modern lines.
Things were starting to come together at this point. We added crown molding and changed the wall color to Benjamin Moore Soft Chamois, again selected for its ability to bridge the various whites in the room.

The Vanity
This was not the first time I’d updated the vanity, but it was nevertheless time to do it again. I’d known all along this would be part of the project, but I waited until I fleshed out all the other components (especially the tile) before choosing a color.
To my surprise, I decided to go a bit darker, rarely the option I go for, but one which felt absolutely right and pulled the entire project together. I used Pure & Original Classico chalk paint in Soft Taupe, then replaced the knobs with an understated modern brass one. As always, after 2 coats of paint I added a clear wax top coat for durability.
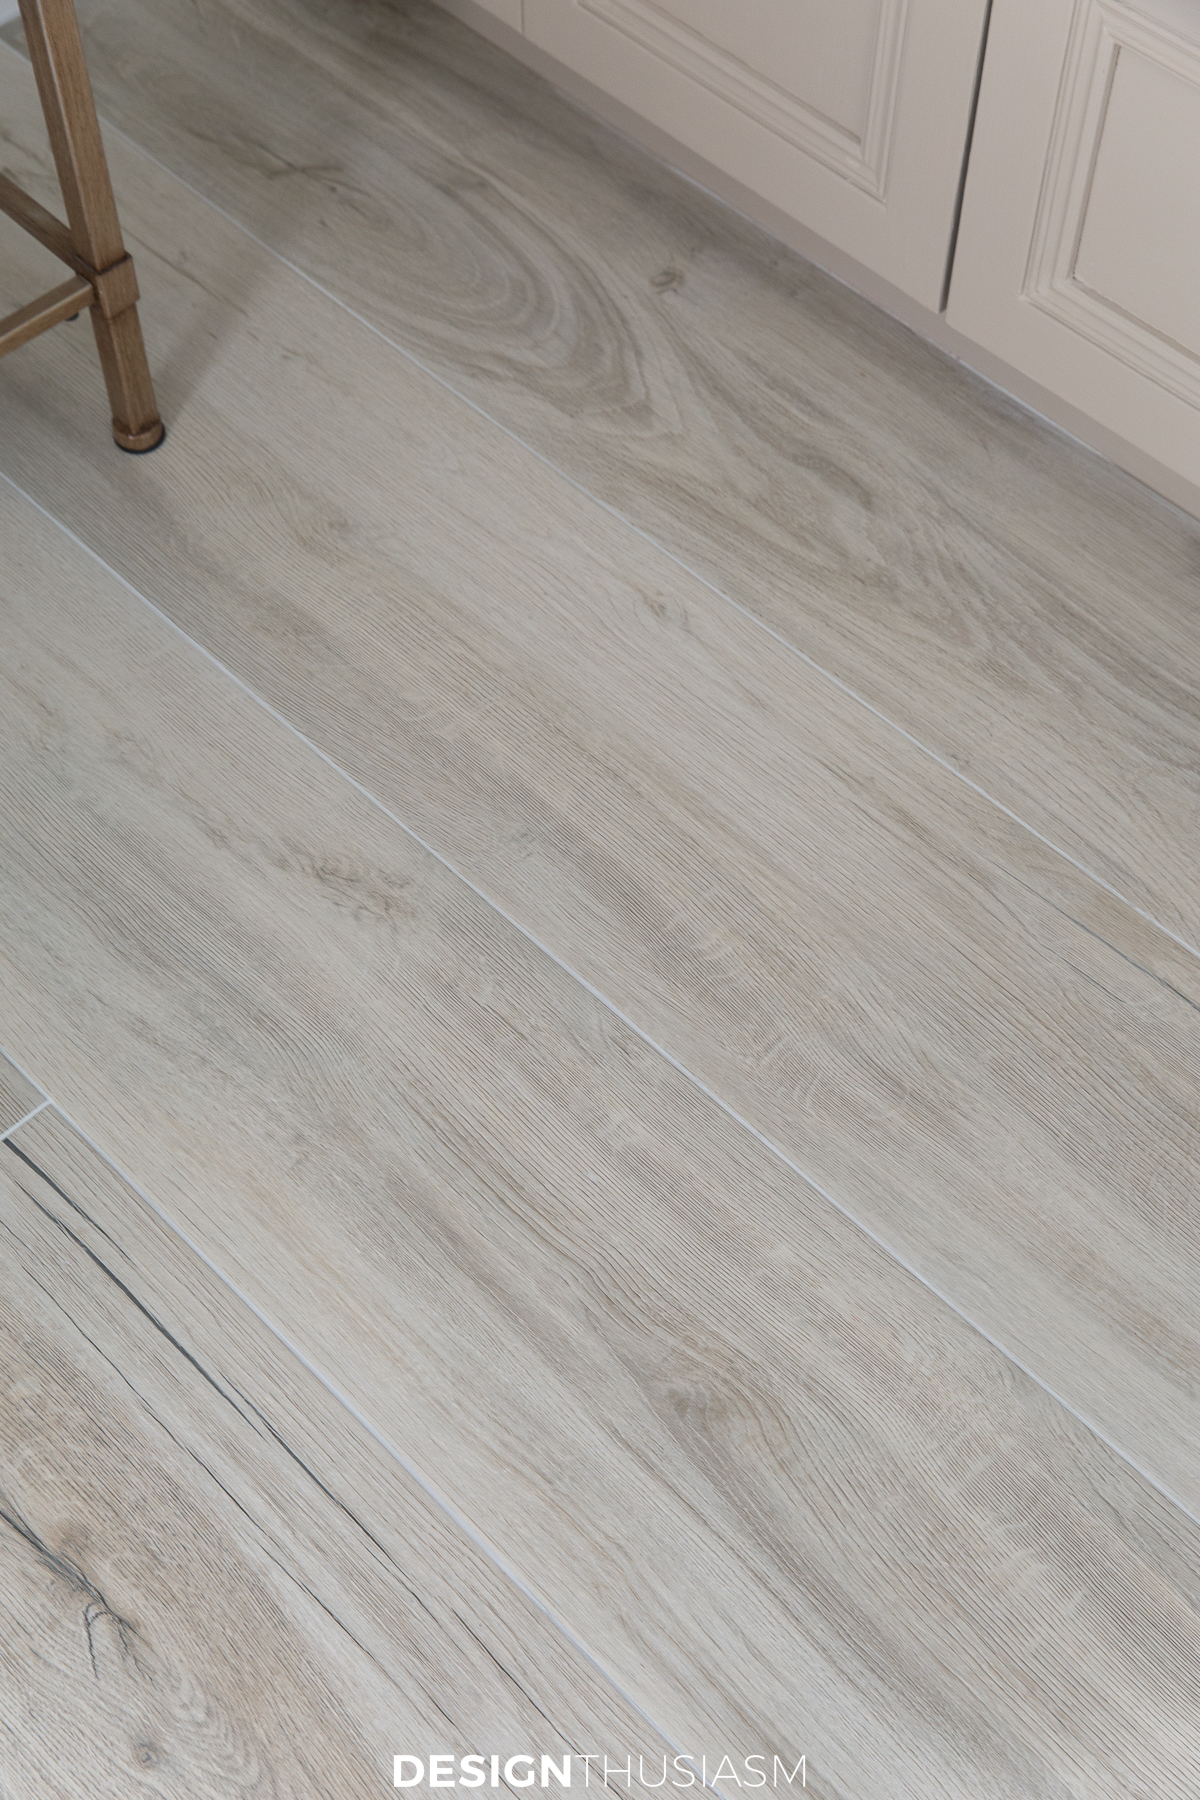
The Flooring
Despite the fact that the tile was one of the last things to be completed (although it was installed before I painted the vanity), I had decided on my direction early in the project. The one change I made from the original plan was to pick wood-look porcelain tile for the floors instead of the anticipated white mosaic marble that I’ve put in our other baths.
This was a bit of a pivot that helped define the character of the room and the one key thing I changed from the design board on a whim while standing in the tile store.
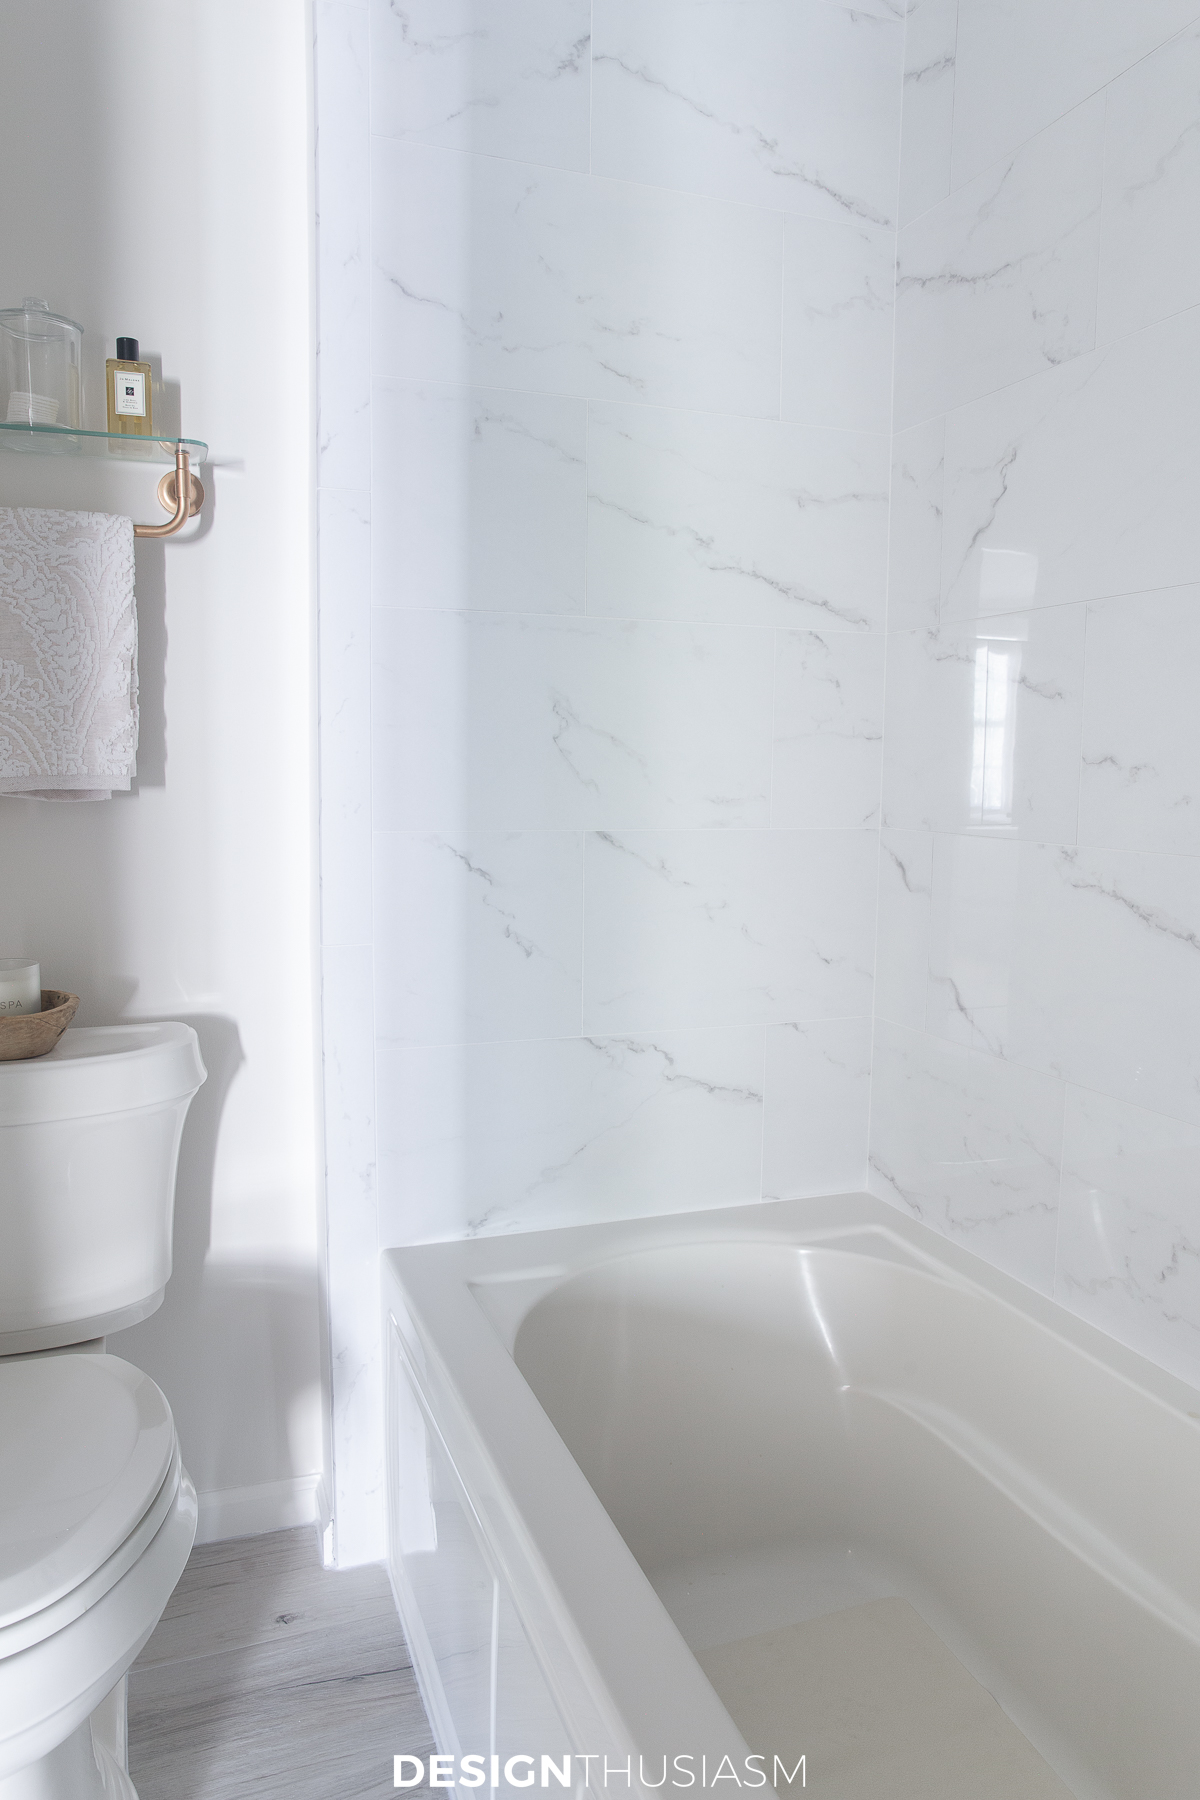
The Shower Tile
I hesitate to show this side of the bathroom, as it’s the only part that’s unfinished, but I will certainly come back and update the photo once it’s done. This gives you a good view of the mix of white marble with off white porcelain and illuminates why it was so hard to find a paint color that blended the two. I never expected the tones to match, but was adamant that they didn’t clash. There needed to be the right balance of grey to yellow undertones and I think we got there. (Hard to tell with all the shadows, so take my word, in person, it’s ok.)
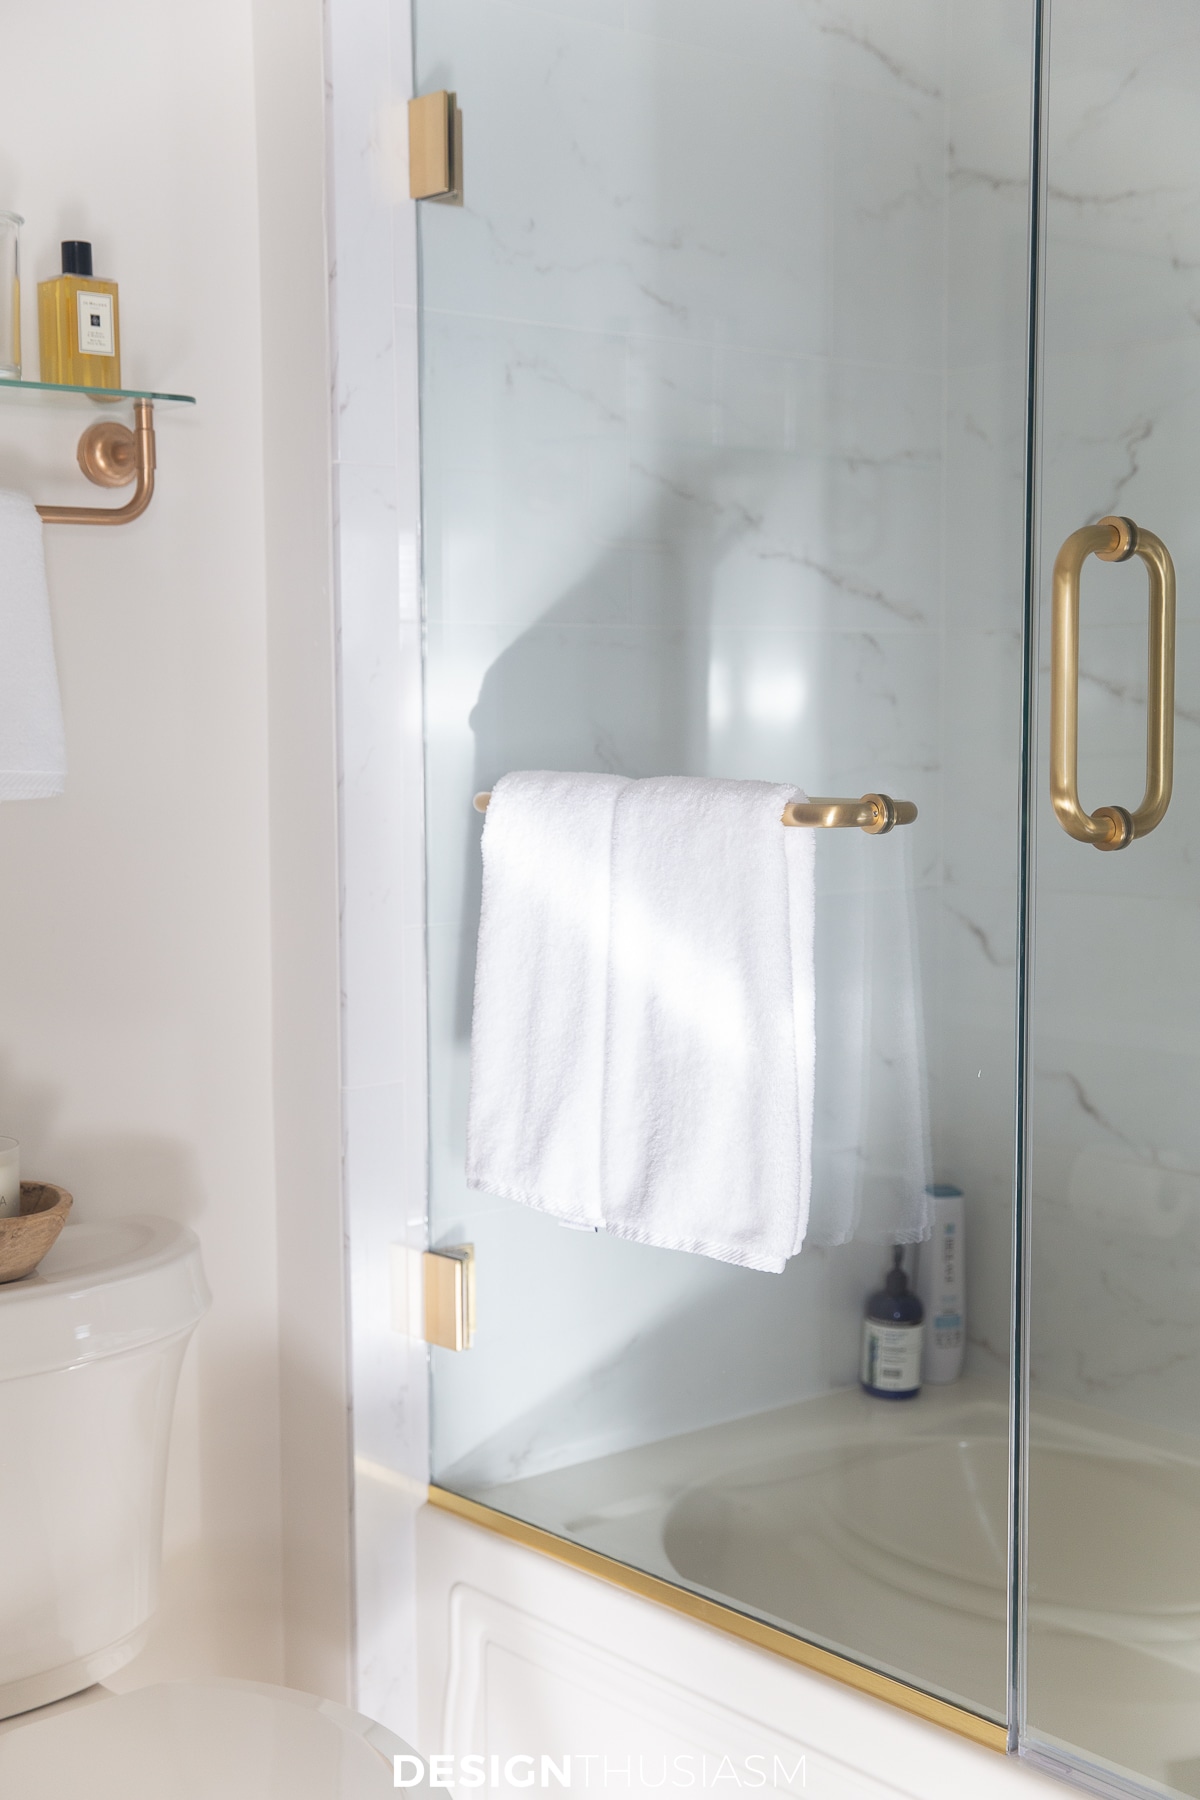
We’ve since completed the shower door which you can see in the photo above. We went for a sleek glass shower door with brass handle and trim, which finished off the space nicely. Having the towel bar on the door is a great convenience and helpful space saver.
Bath Accessories
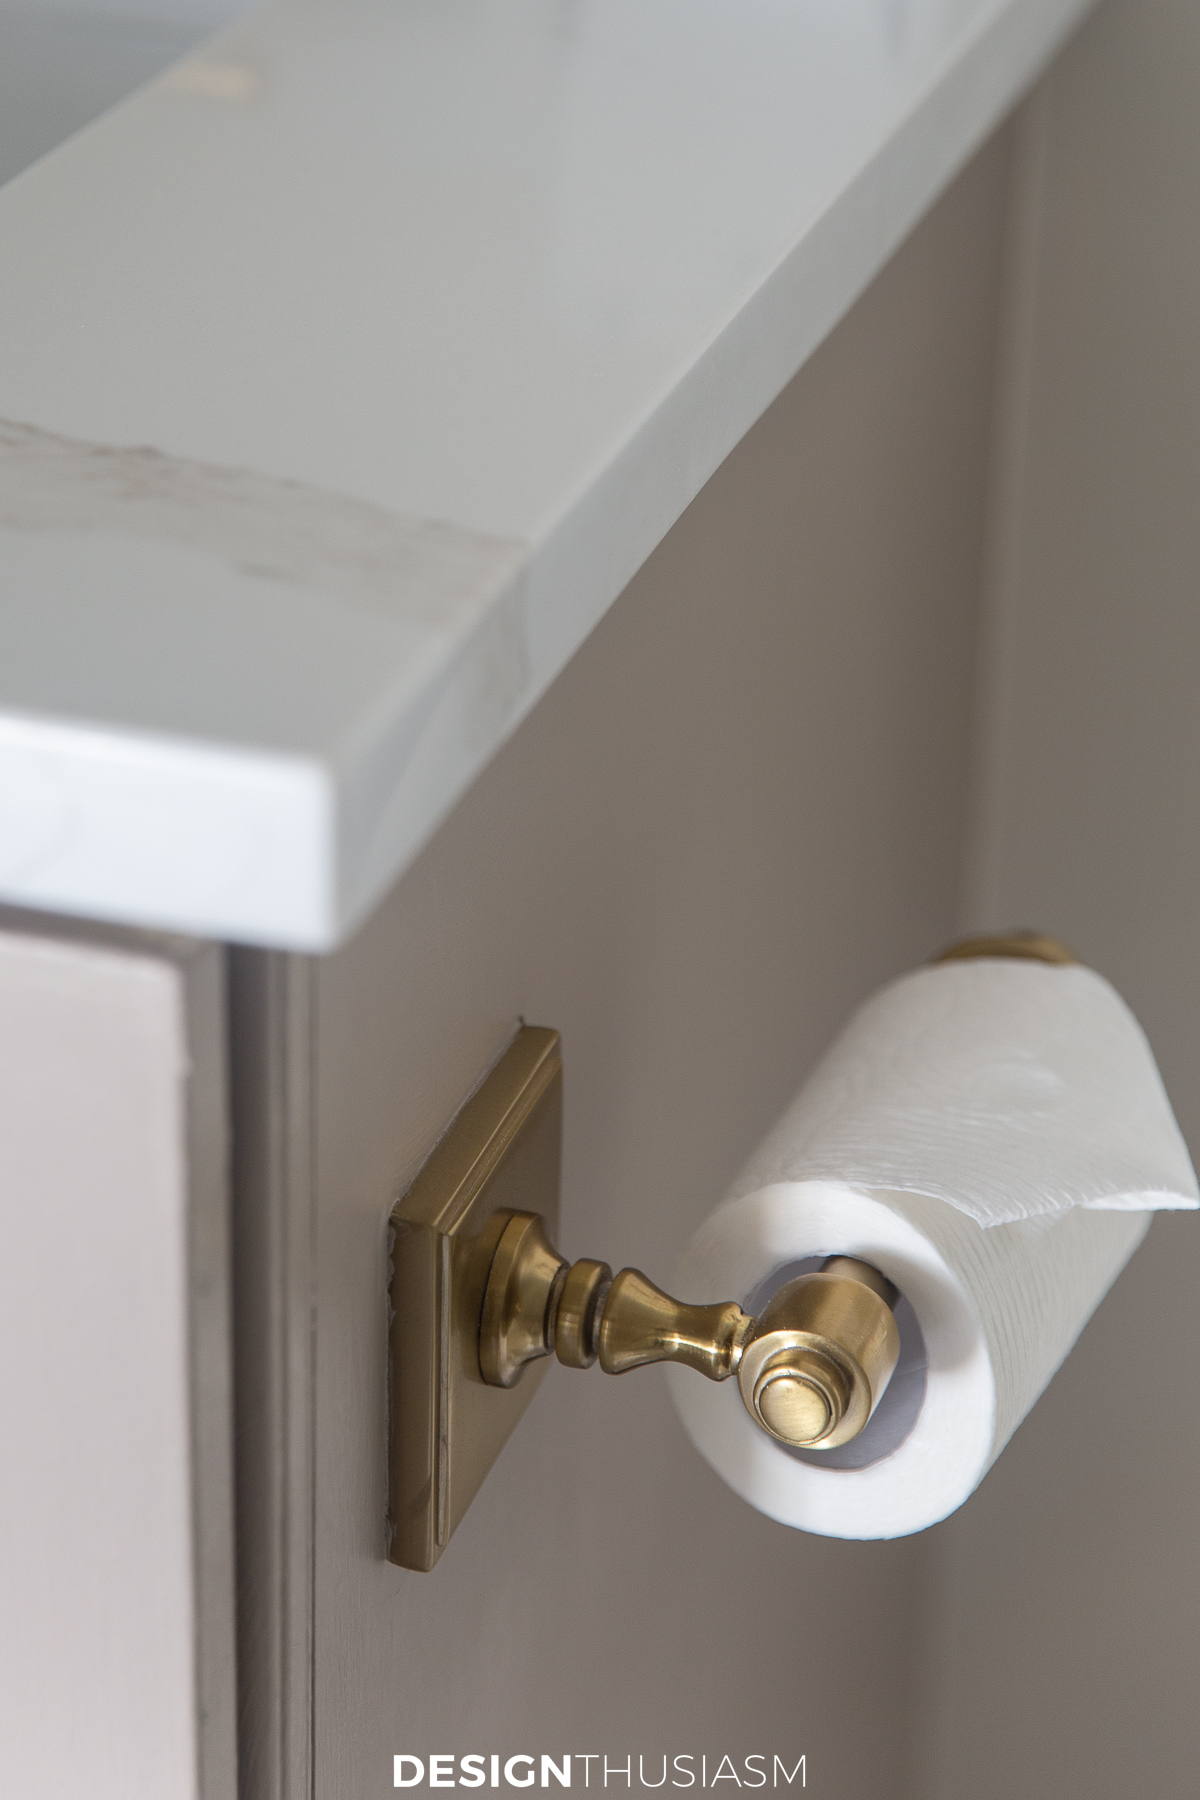
As you can see, I limited the expense to tile and countertop. Most of the rest was done with paint and decor accents, which is always the fun part. For bath accessories, I opted for brass again, in a favorite style I’ve used in our other baths, including towel bar, toilet paper holder and robe hook.

One More Paint Solution
I had intended to get the matching shelf for some toiletries, but it was out of stock when I placed my order, so instead I kept the existing pewter shelf and towel bar, but painted the metal gold to work with the rest of the space. I wrestled with this one for a while, but it looked SO much better after painting (even though it was too complicated to take it down and so I painted it on the wall!)
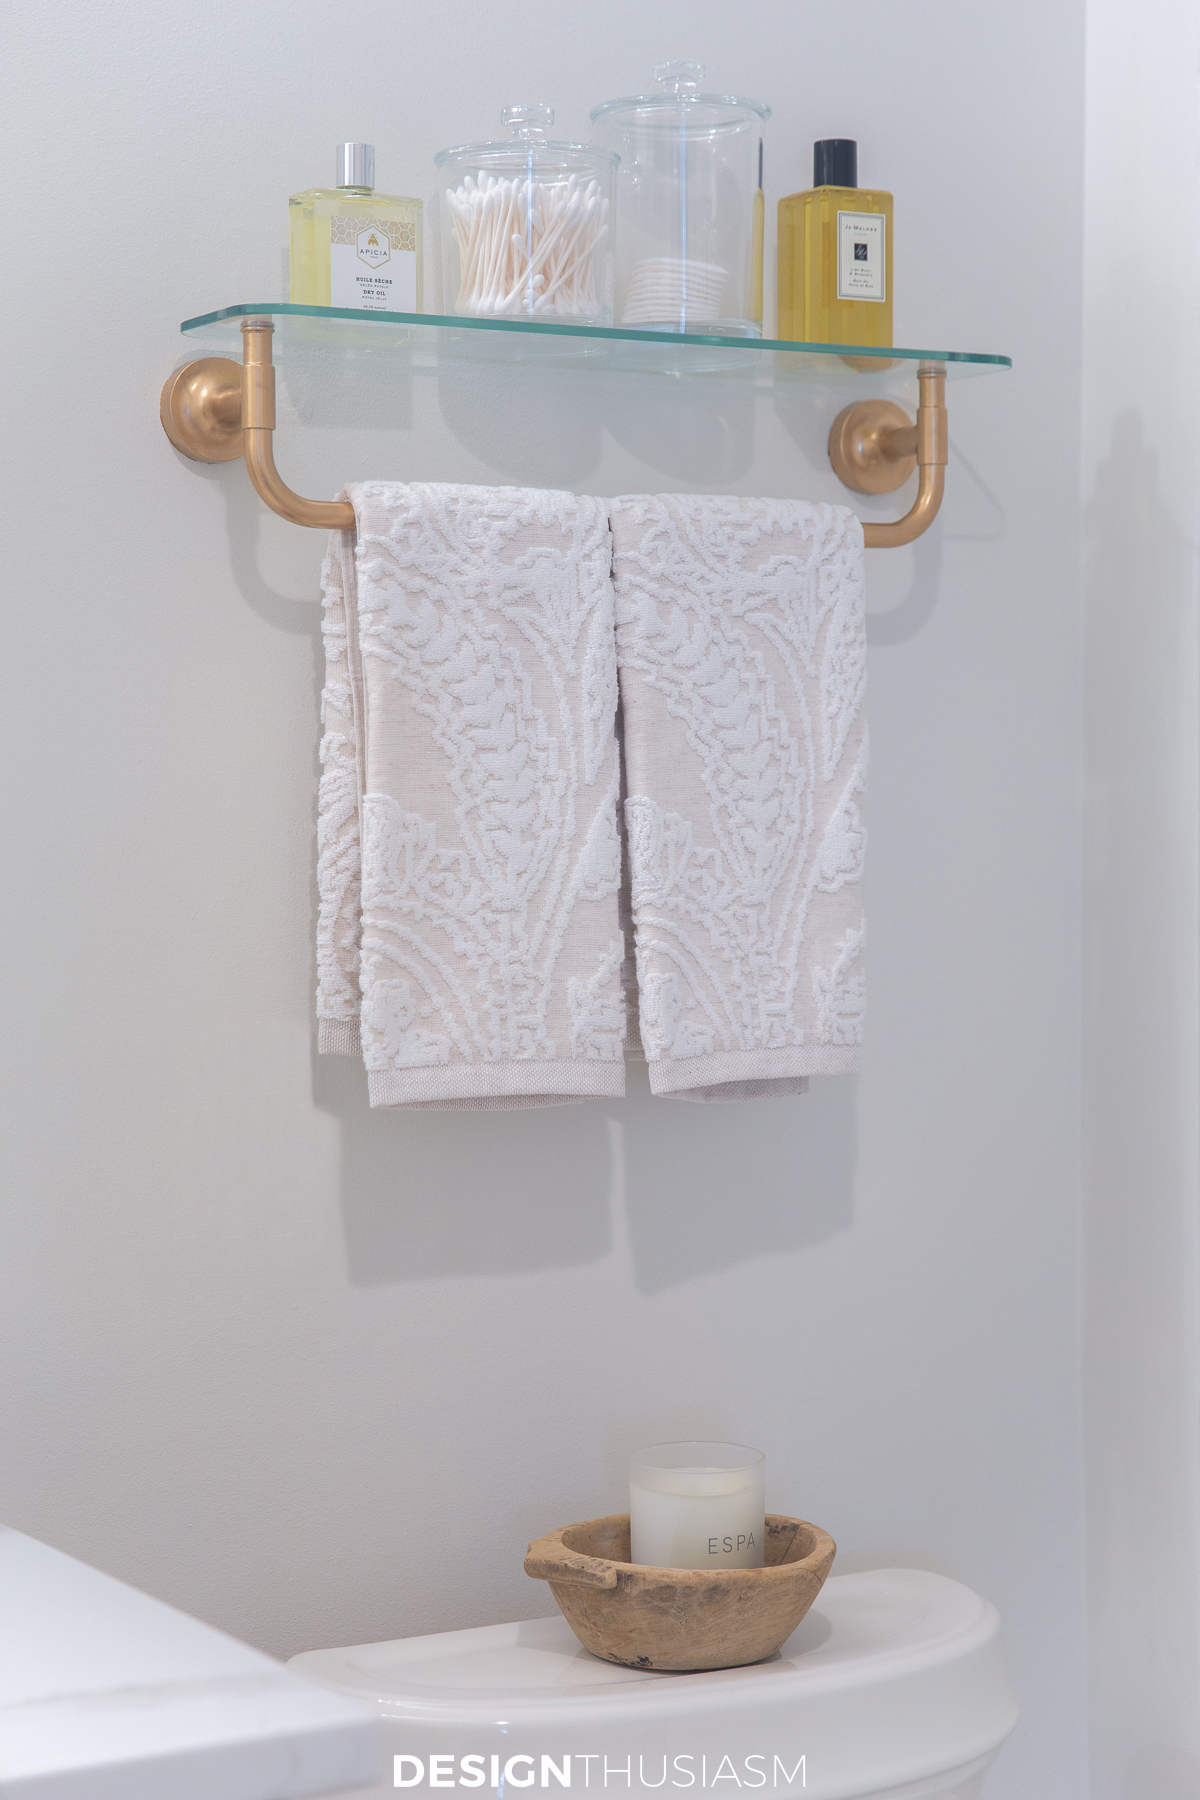
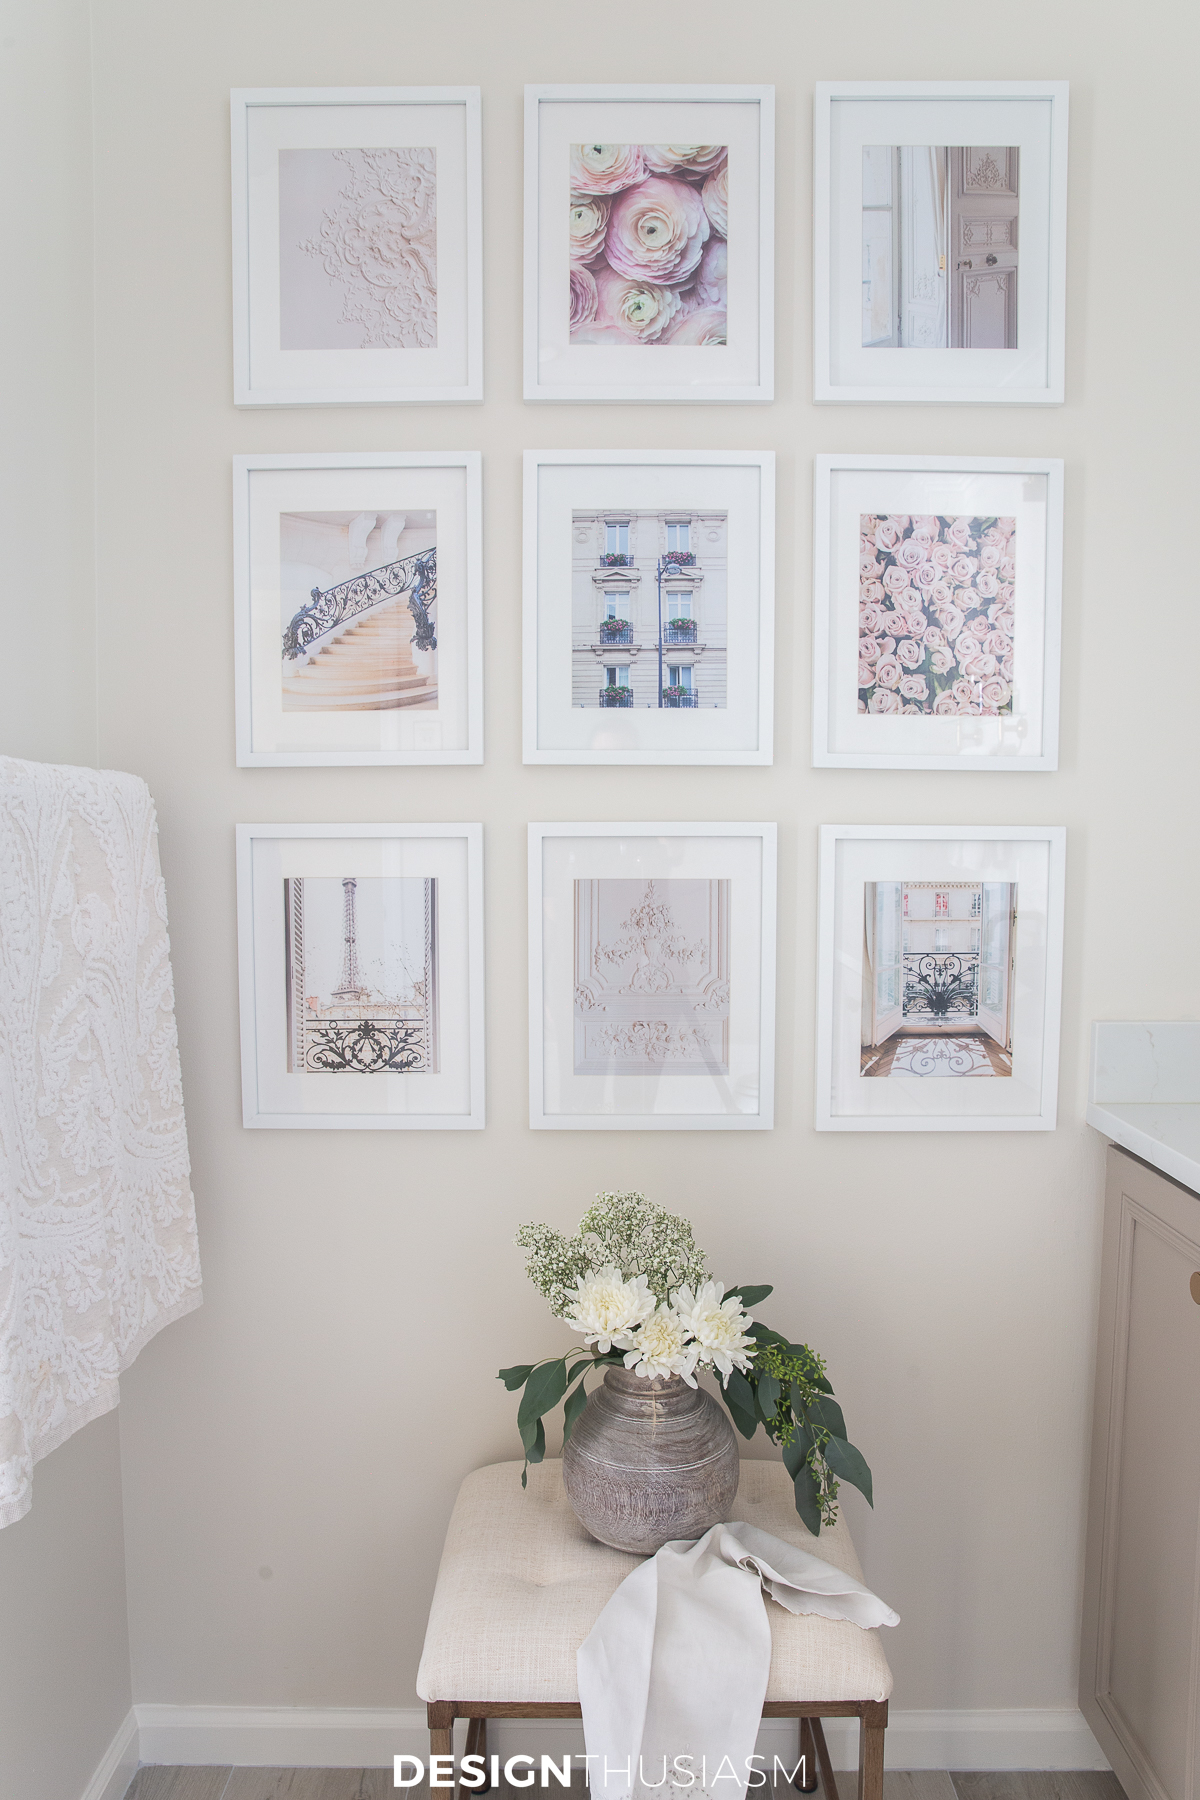
I enjoyed using natural, organic decor accents to decorate the space, including found wood bowls, a stone mortar, cement vase and the like, to give the space personality.
We rehung the gallery wall that was previously in the room as I still love it, and I’m thrilled with the outcome.
I finally have a space that honors my taste, works with the adjoining bedroom, as well as the home it sits within. I had to make some compromises to achieve my goal yet keep the budget low, and most importantly, I’m now thrilled to welcome guests to enjoy this space!
Budget Bathroom Remodeling Tips
- Splash of Paint: A fresh coat of paint can work wonders. Choose a color that complements your bathroom’s theme and your personality.
- Update Fixtures: Swap out old faucets, handles, and showerheads for newer, more stylish ones. It’s amazing how much of a difference this can make.
- DIY Vanity Refresh: If your vanity is in decent shape, consider giving it a facelift. Sand, paint, and change the hardware for a budget-friendly upgrade.
- Mirrors and Lighting: Upgrade your bathroom’s look with new mirrors and lighting fixtures. They can add elegance and brightness without breaking the bank.
- Regrout and Caulk: A little maintenance goes a long way. Refreshing the grout and caulk in your bathroom can make it look cleaner and more appealing.
- Thrifty Finds: Check out thrift stores or online marketplaces for secondhand bathroom decor. You might find unique, budget-friendly pieces.
- Peel-and-Stick Tiles: For a quick and budget-friendly flooring change, consider peel-and-stick tiles. They come in various designs and are easy to install.
- Open Shelving: Swap out a traditional medicine cabinet for open shelves. It not only adds storage but also displays your bathroom essentials stylishly.
- Accessorize Smartly: Choose affordable yet chic bathroom accessories like soap dispensers, towels, and shower curtains to tie the look together.
- Declutter: Sometimes the best renovation is clearing out what you don’t need. A clutter-free bathroom instantly feels more inviting.

Resource Guide
To get the look, click on the items below for direct links to the products. Where actual items were no longer available, I’ve provided similar options. If an item is out of stock but may be restocked, I left it on the list.
(This post contains some affiliate links for your convenience. Click here to read my full disclosure policy.)


SUBSCRIBE AND GET my free guide:
“20 Ways to Update Your Home for Your Changing Lifestyle”!
More Kitchen & Bath Ideas


How is the best way to raise the height of a built in bathroom cabinet, there are two in the master bath, built in the 90s without tearing out and starting over. Suggestions appreciated. Photos welcome! Thank you!
If you only want to raise it a bit, you can try to replace the countertop and do a double thickness counter.
Bathroom remodels can be daunting, but this post offers a practical solution. The idea of refreshing the bathroom without removing the vanity is not only budget-friendly but also saves time. The tips and tricks shared here are valuable for anyone looking to give their bathroom a facelift.
We’re so excited to finally start our own bathroom remodel! This post really resonates with us—especially the part about trying to justify the cost on a space that doesn’t get much use. Like you, we’re focusing on keeping costs low while still making it beautiful. We’ve already lined up a dumpster rental to help with the demo, so we’re ready to clear out the old and make room for the new! Can’t wait to see how it all comes together!
Omg, what a great and powerful post. I love your ideas and designs styles in this post. I am currently working on our bathroom. And will be implementing lot of your ideas into ours.
Thanks for sharing.
Wow, I really enjoyed this post! It’s so refreshing to see a bathroom remodel that doesn’t require ripping everything out, especially the vanity. You showed how small updates—like new hardware, paint, and decorative touches—can make a huge difference without a full renovation. The transformation is elegant and feels totally intentional. Definitely bookmarking this for inspiration—my guest bath could use this kind of smart upgrade! Thanks for the practical tips and beautiful photos!
Great ideas! How did you repaint the towel bar? Thanks for sharing your experience.
Thanks! I used Rub-n-Buff gold paint.